Local Waterfront History: An Explainer on Harbour Quarter's Tidal Landmarks
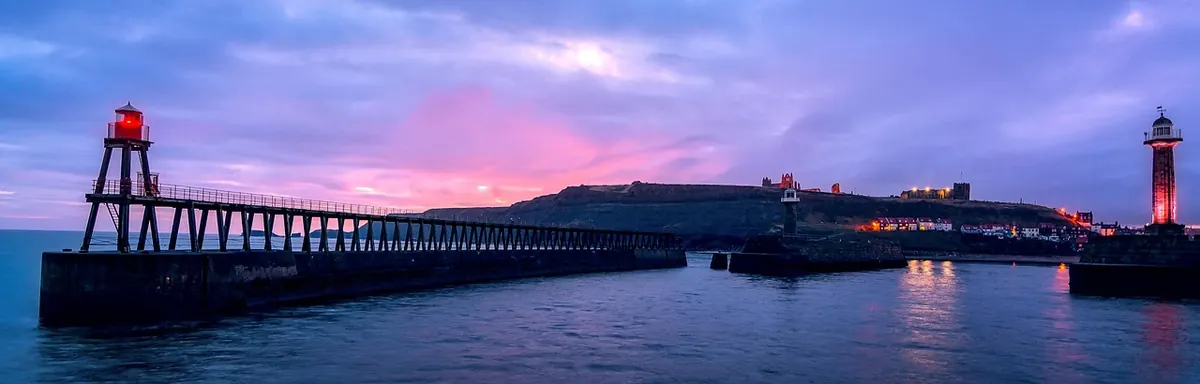
A pier does not stand in the water so much as in time. The timber rots, gets replaced, rots again; the stone settles; the ironwork rusts in bands that map the tide. Every harbour keeps two sets of records. One is written down — plans, ledgers, the occasional brass plaque. The other is built, and the tide edits it twice a day.
Walk the Harbour Quarter's edge at low water and you are reading the second set. Here is how to make sense of the piers, seawalls and channel markers you pass every week without really seeing them.
The strip between high and low water is the harshest address in the harbour: salt, sun, drying wind, ice in a cold snap, and a twice-daily soaking. It is also where the evidence survives best, because nothing gets buried and nothing grows over beyond recognition. Marine growth reads like bands on a chart — bright green algae near the top where the water only reaches on a spring tide, darker weed lower down, barnacles where the water sits for hours at a time.
Timing matters more than equipment. A spring low, the bigger of the two monthly lows around the new and full moon, exposes footings, sill lines and old stairs that neap tides keep covered. Check a tide table and go at the lowest low of the month, giving yourself the hour either side of it.
Decks get rebuilt. Pilings get replaced one at a time, which is why a single pier is usually several ages of timber standing in a row. Colour and texture give the sequence away: blackened, checked pilings are older; pale ones with sharp edges are recent. Where a new pile stands beside an old one, you are looking at a repair job you can date within a decade or so.
None of that needs a historian. It needs you standing at the root of the pier, looking down instead of out.
Seawalls are never finished. They are patched, repointed, raised and curved as the water finds the weak places. The result is a visible stratigraphy: smooth cut stone at one end, rough poured concrete at the other, a band of newer blocks where a section failed.
Look for the small furniture. Weep holes drain the fill behind the wall. Stairways cut into the face — often steep, narrow and green — were working access for people who arrived by boat and needed to get ashore dry. Ring bolts at knee height are mooring points. And the grey-white line running along the base is not decoration: it is the height the water reaches most days, drawn in salt and algae.
One caution. Walls are built to be leaned against, not climbed. Stay off wet stone, and watch the tide rather than the masonry.
Buoys and beacons are the harbour's punctuation. A lateral mark tells you which side of the channel to pass; which colour sits on which side depends on the region you are in, but the principle holds everywhere — the marks describe the safe water, not the hazards. Cardinal marks, safe-water marks and isolated-danger marks do the same job with different shapes and topmarks.
Daymarks on shore, and pairs of leading lights, work differently. You line them up and they hold you on a heading. That is why they sit where they sit, and why they occasionally get moved or rebuilt after dredging.
Two things are worth noticing as you walk past. First, how much of a marker is about being seen in bad weather — height, colour, reflectors. Second, how much of the structure below the water is about staying put: sinkers, chains, moorings. The visible part is the smallest part.
Bollards worn into a curve by decades of rope. A tide gauge painted on a wall, its numbers half gone. A slipway with a ribbed surface so a keel and a boot sole both have something to grip. A capstan, a crane base, a rust stain in the shape of a missing sign.
Photograph these. A plain bollard is easy to overlook and easy to lose, and once a working edge has been tidied up for pedestrians, the evidence tends to go with it.
If you are chasing a specific building or a family connection, the local studies library, the harbour authority and the archive office are the right next stops. Harbour plans, deeds and old photographs settle in an afternoon what speculation cannot settle at all.
Pick a stretch of the Harbour Quarter waterfront and walk it four times: once at spring low, once at high water, once in winter, once just after a storm. The structures barely change. What you notice does.
Take a notebook or your phone, note the date and the tide, and photograph the same three details each time — a tide line, a repair, a marker. Within a year you will have your own record of a harbour being quietly rebuilt around you, and you will read the next pier you pass the way other people read a street sign.
Photo: TimHill / Pixabay
Previous Post
How to Join a Harbour Cleanup Crew: A Beginner's Guide to Volunteering
Next Post
The Seasonal Waterfront Home Maintenance Calendar: What to Do Each Quarter